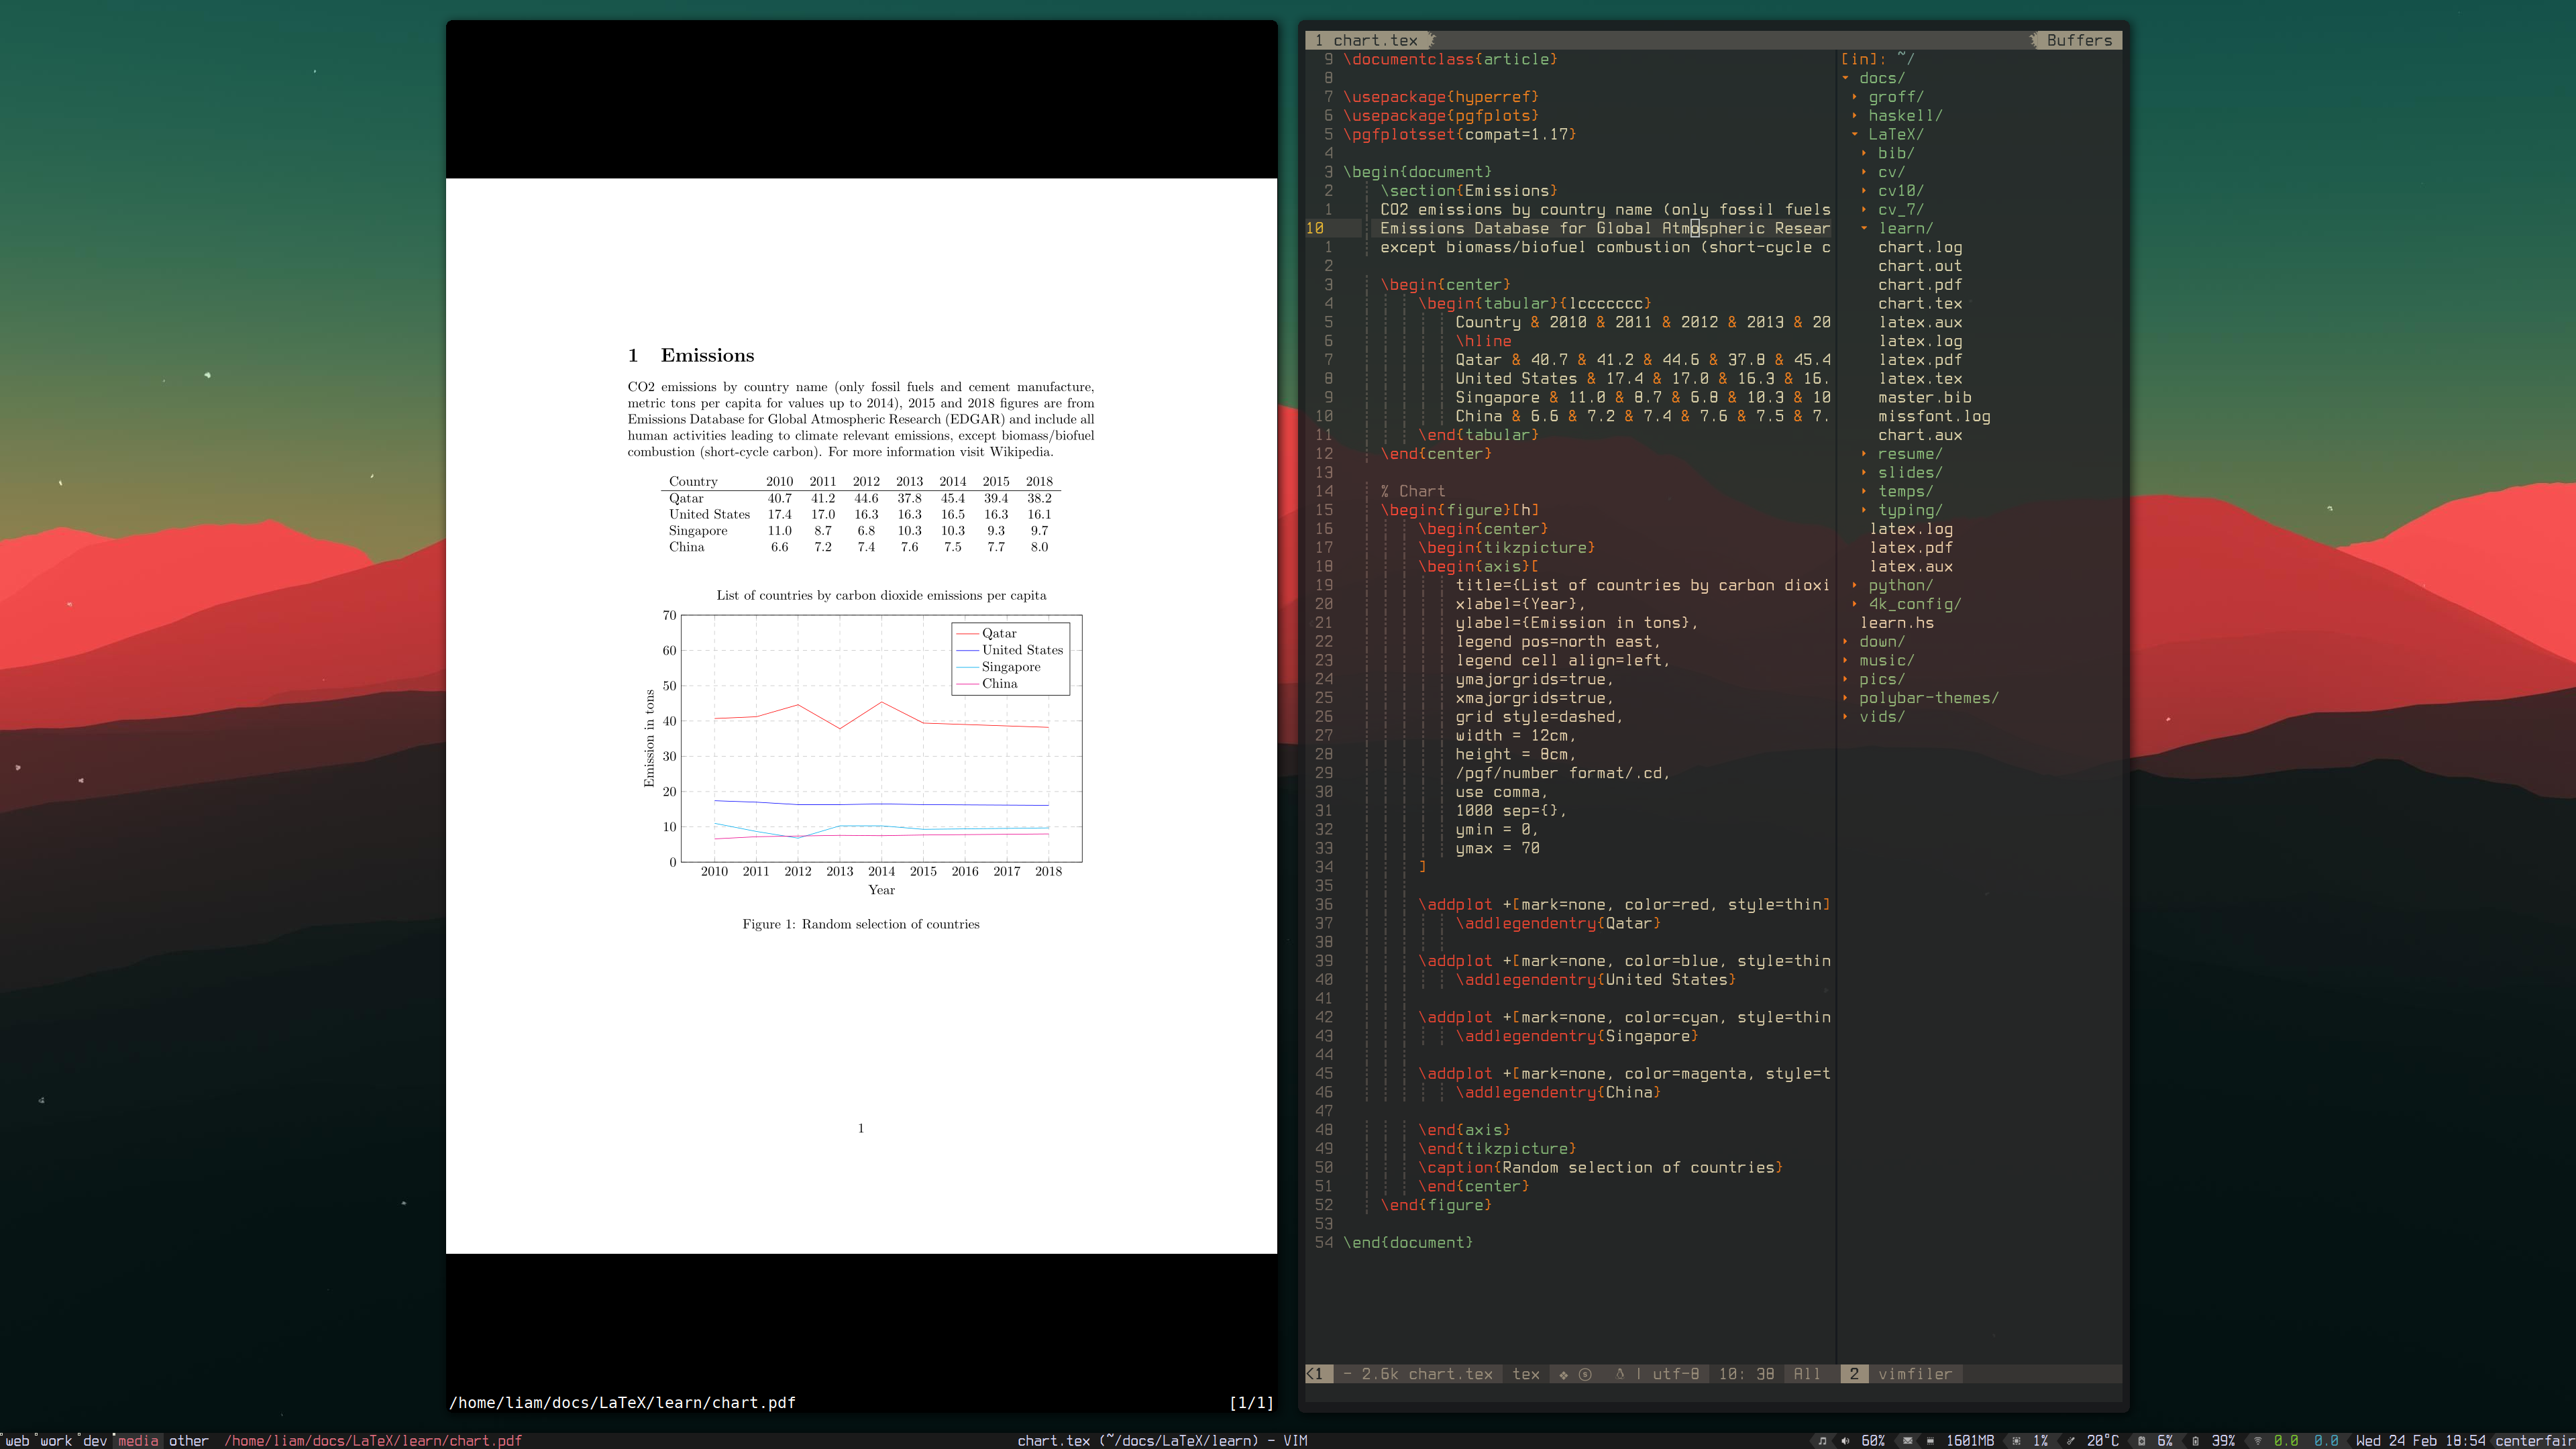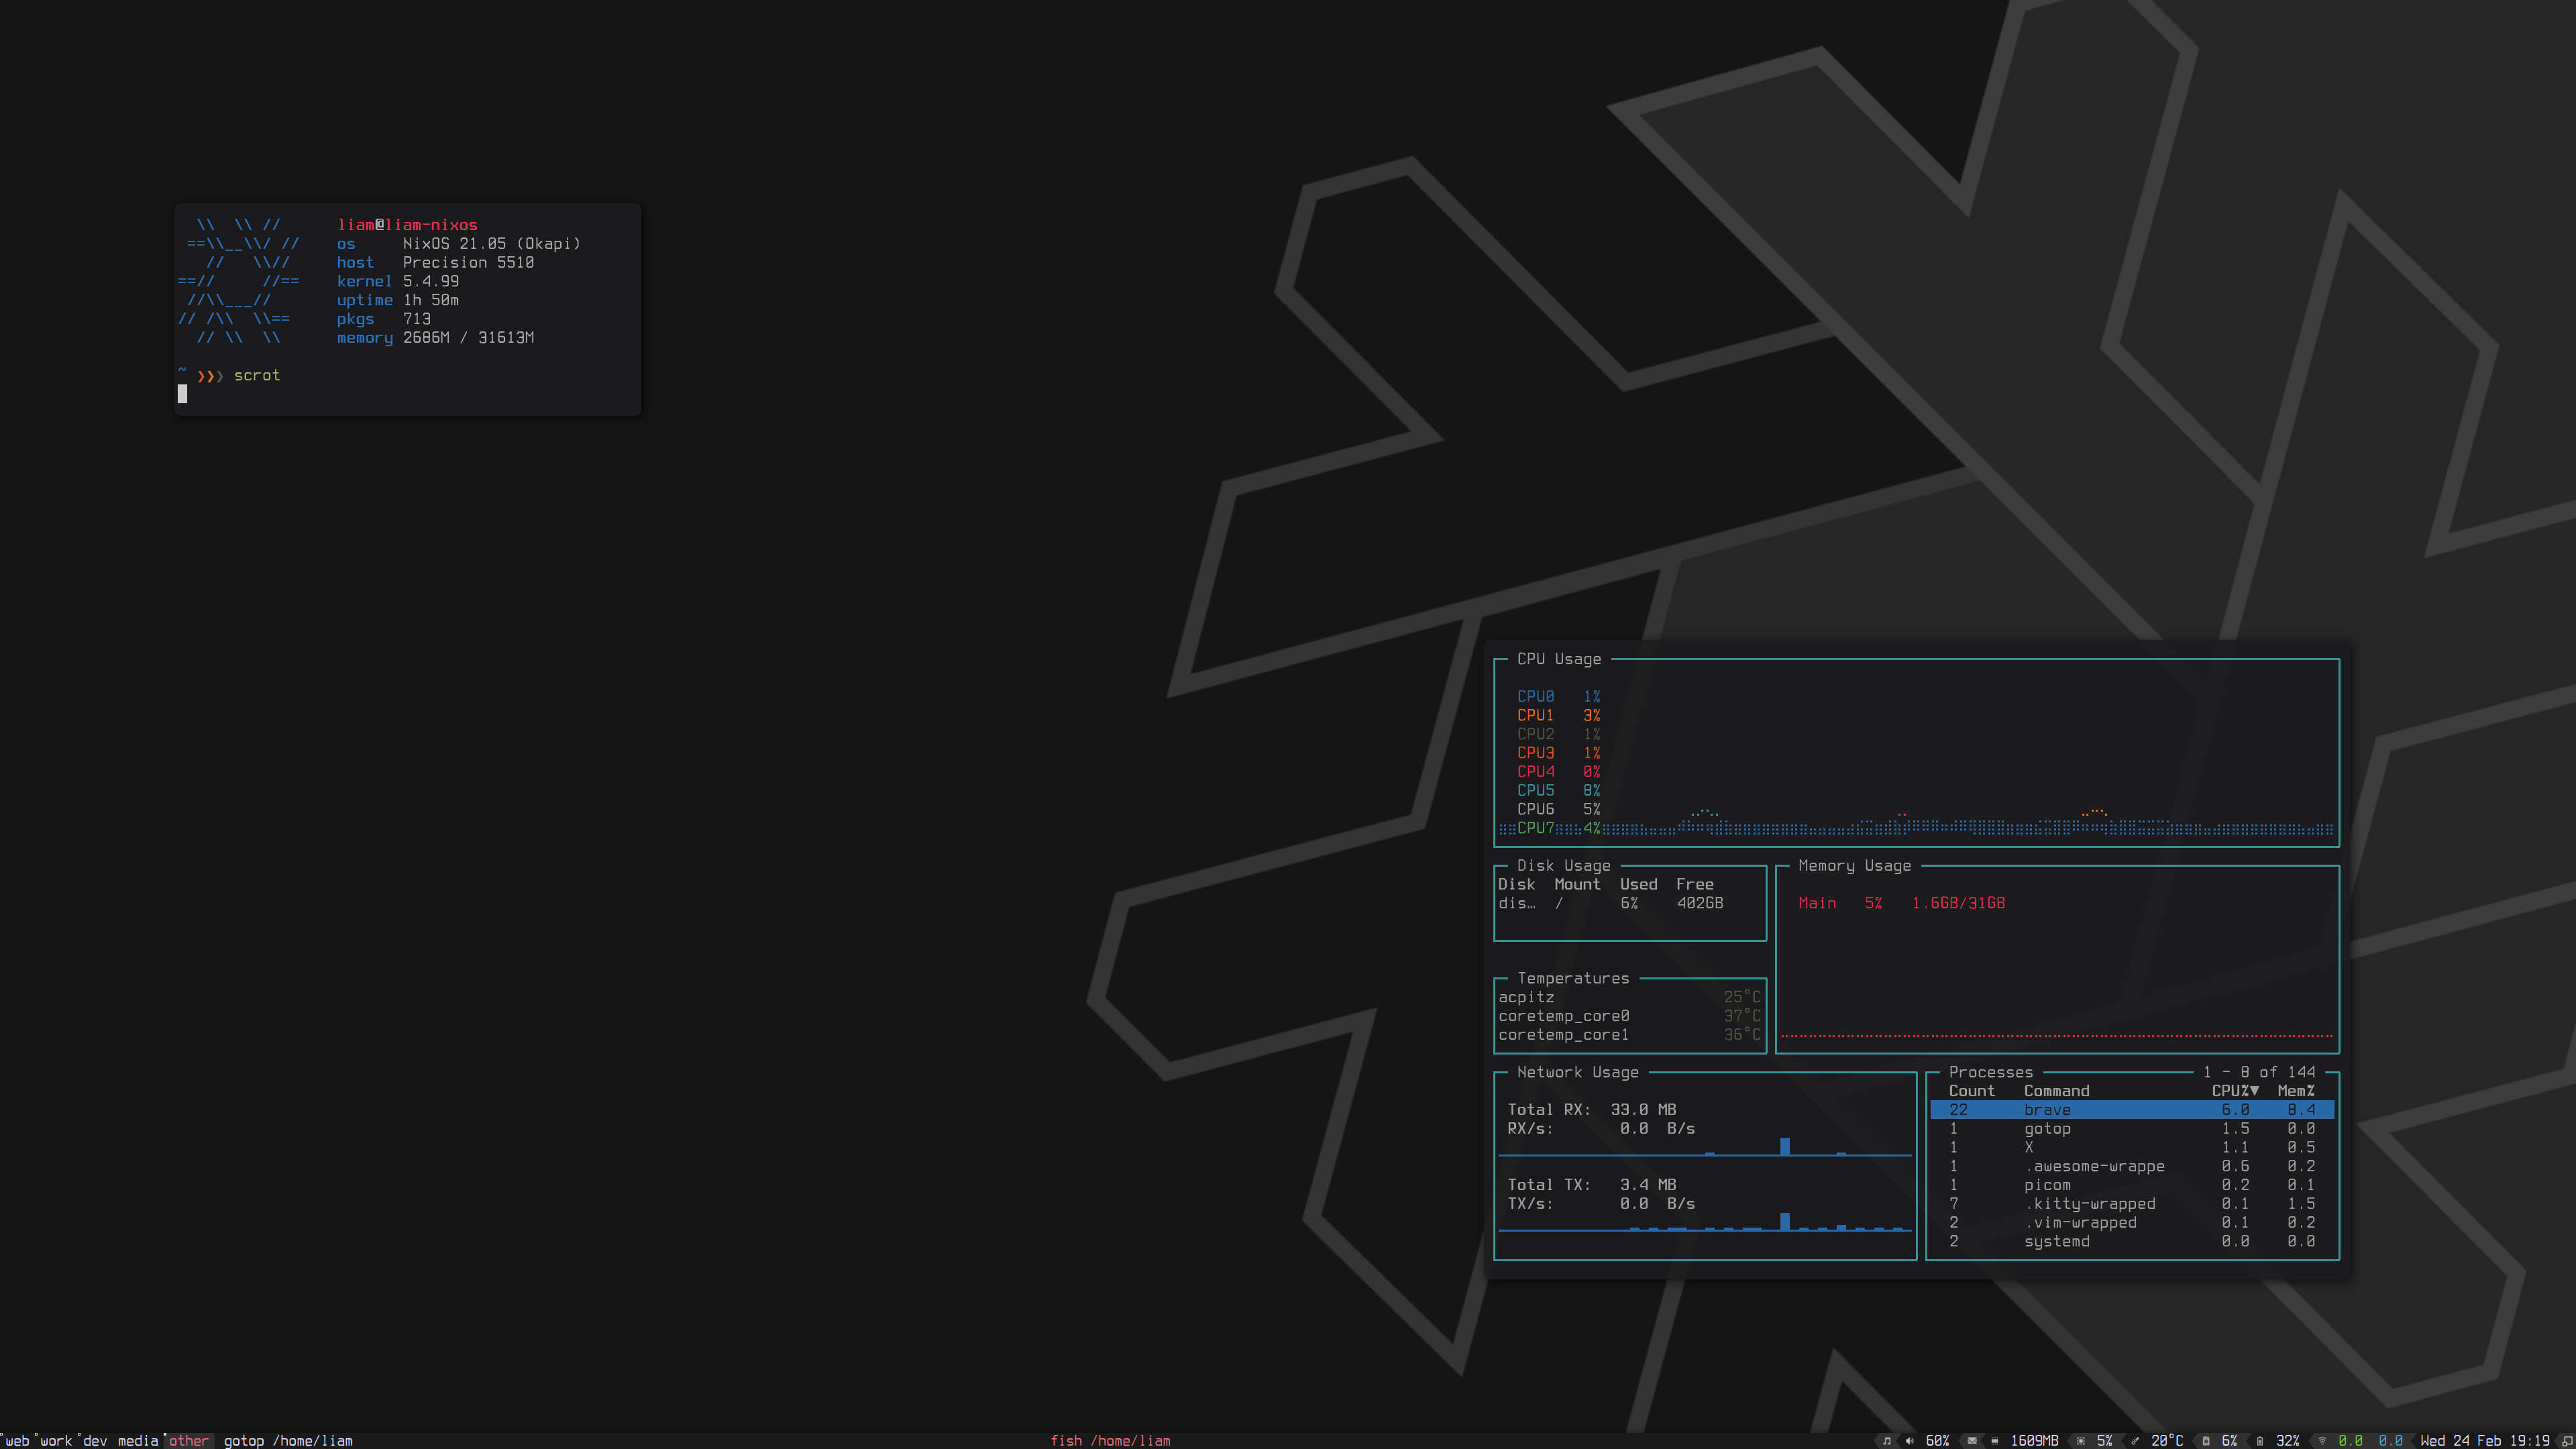

Please note that this page is somewhat depricated and is really the original write of the NixOS page on this site. I have since stopped using AwesomeWM and I have this page here for nostalgia and really nothing else. This config can be installed on your system if you just clone the repo and put the awesome folder in your ~/.config/ but it'll work on any OS. All the Nix stuff please ignore and go to either Xmonad or NixOS pages.
So here we are, the .dotfiles for my computer. These ones are meant to be run on an hidpi display and while some things will auto adjust to scale with smaller displays, some of these things will not. I am running this currently on a Dell XPS 9550 with a 4k screen. If I change computers I will likely make a separate repo for the non hidpi screens as to get here I have confused myself a little bit.The actual files are available on GitHub. There is also another page for XMonad without HiDPi support.


So this is where my lack of actual knowledge really begins to show. The install for most of this is… pretty manual to put it lightly.
Essentially, git clone this repo onto your NixOS 20.09 live enviornment whereever you want. Then you’re going to want to go through the normal partitioning and formatting as per the NixOS manual’s guide for installing the OS. Once you have mounted and created default configuration is where things get interesting.
The cloning can be done with git clone https://github.com/ubuntu9786/4k_config.git
nix-enter --root '/mnt' as well and then set a password for the user you created with passwd <user> This will allow for you to just be able to log into the user that you created after the install is done instead of having to login as root in a tty or through the user in gdm.After rebooting, creating a root password, logging in as root and setting your user password, do as follows:
git clone https://github.com/ubuntu9786/4k_config.gitdpi = 190 from the .Xresources filemkdir ~/.configRestart AwesomeWM and you’re then rocking my dots.